

Django 포스팅
Doyeon0430 | 2023년 07월 31일

이번시간에는 파이썬에서 제공하는 calendar로 달력을 만들겠습니다.
calendar는 파이썬에서 제공하는 라이브러리로 모듈만 가져오면 간편하게 사용할 수 있습니다.
지금부터 views.py에서 calendar를 설정하고 템플릿에서 사용자가 보여지게 만들겠습니다.
달력을 사용하려면 날짜들을 불러와 입력해줘야합니다.
화면에 호출되기 위해 년도와 월 등을 가져오겠습니다.
1. views.py
from datetime import datetime

...
introduce_data = {'main_view': main_view, 'total_count': total_count} #기존 데이터
...

#새로 추가된 코드
today = datetime.today()
month = today.month
year = today.year
introduce_data['today'] = today
introduce_data['month'] = month
introduce_data['year'] = year
기존에 사용하던 코드밑에 위와 같이 날짜들을 넣어주세요.
2. views.py
import calendar

...
introduce_data = {'main_view': main_view, 'total_count': total_count} #기존 데이터
...

#새로 추가된 코드
cal = calendar.monthcalendar(year, month)
cal_data = []

for week in cal:
    week_data = []
    for day in week:
        if day == 0:
            week_data.append((None, None))
        else:
            count = 1 #호출 데이터
            week_data.append((day, count))
    cal_data.append(week_data)

introduce_data['cal_data'] = cal_datacal은 년도와 월에 해당하는 데이터를 2차원 리스트로 가져옵니다.
cal_data로 빈 배열을 선언합니다.
다음으로 for문을 이용해 week를 day로 세분화 시키고
day가 있을 때 append로 값을 저장합니다.
count는 달력에 넣을 데이터이며 예시로 1을 넣겠습니다.
마지막으로 빈 배열인 cal_data에 지금까지 넣었던 2차원 리스트를 추가합니다.
3. views.py
return render(request, 'myprofile/introduce.html', introduce_data)이제 데이터들을 템플릿으로 보내주겠습니다.
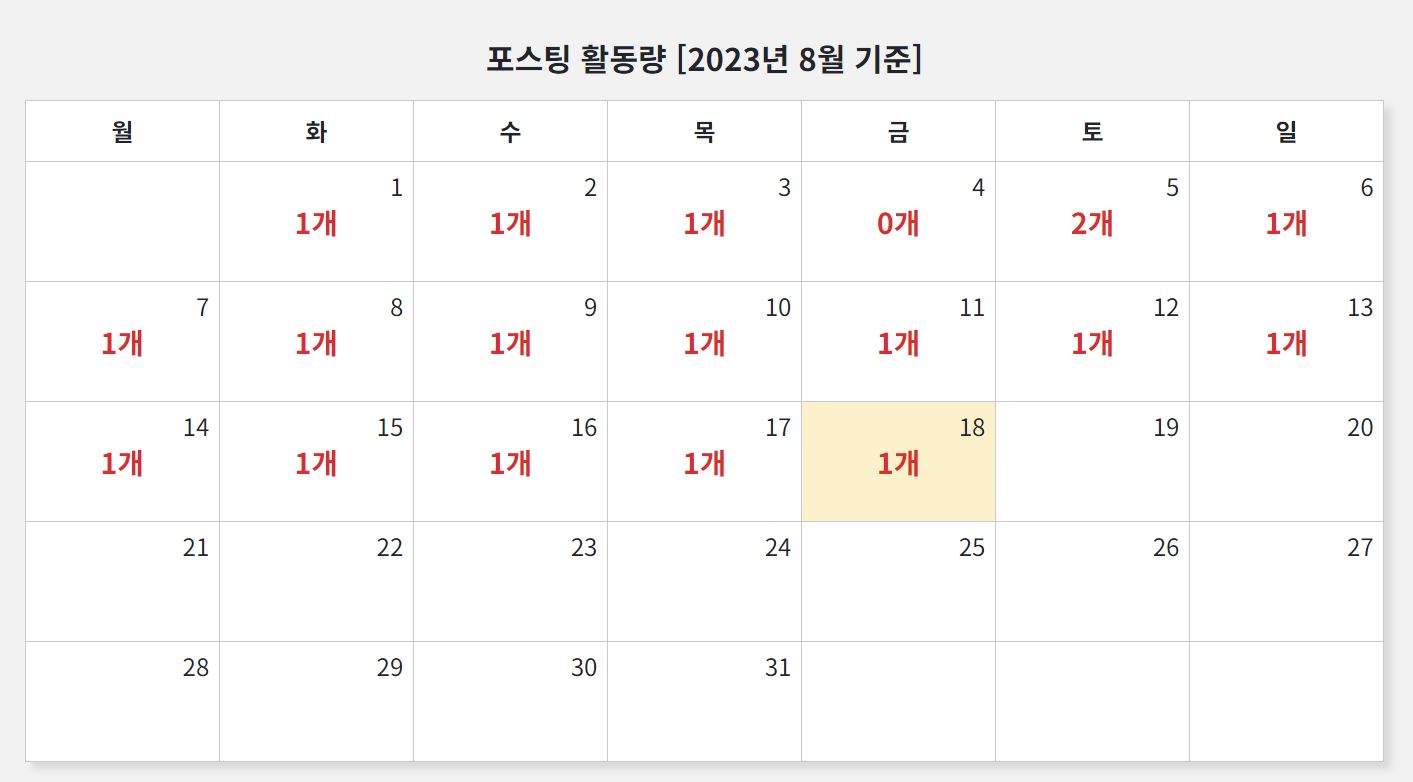
html과 css로 간단한 달력 구조를 디자인했습니다.
목적은 하루에 올리는 포스팅 개수를 알려주고자 만들었습니다.
1. HTML 코드
<h2 class="calendar_title">포스팅 활동량 [{{ year }}년 {{ month }}월 기준]</h2>
<table class="calendar">
  <thead>
    <tr class="calendar_header">
      <th>월</th>
      <th>화</th>
      <th>수</th>
      <th>목</th>
      <th>금</th>
      <th>토</th>
      <th>일</th>
    </tr>
  </thead>
  <tbody>
    {% for week in cal_data %}
    <tr>
      {% for day, count in week %}
      <td class="calendar_day" {% if day == today.day %} style="background-color: rgb(252 241 202);" {% endif %}>
        {% if day %}
        <div class="date">{{ day }}</div>
        {% if day <= today.day %}
        <div class="count">{{ count }}개</div>
        {% endif %}
        {% endif %}
      </td>
      {% endfor %}
    </tr>
    {% endfor %}
  </tbody>
</table>
태그는 테이블로 구성했으며 cal_data를 for문으로 만듭니다.
그리고 week를 day와 count로 나눠주는데 값이 2차원 리스트라 콤마(,)를 사용했습니다.
이제 if문으로 day가 있을 때 호출합니다.
2. CSS 코드
/* 포스팅 활동량 시작 */
.calendar_title {
    text-align: center;
    font-size: 1.3rem;
    font-weight: 900;
    margin-bottom: 10px;
}

.calendar {
    width: 70%;
    border-collapse: collapse;
    table-layout: fixed;
    margin: 1rem auto;
    background-color: #ffffff;
    box-shadow: 5px 5px 5px rgba(0, 0, 0, 0.1);
}

.calendar_header th {
    text-align: center;
    border: 1px solid #c9c9c9;
    padding: 8px;
}

.calendar_day {
    text-align: center;
    height: 5rem;
    border: 1px solid #c9c9c9;
    position: relative;
}

.calendar_day .date {
    font-size: 1rem;
    position: absolute;
    top: 5%;
    right: 5%;
}

.calendar_day .count {
    color: #d82e2e;
    font-size: 1.2rem;
    font-weight: 600;
    display: inline-block;
}
/* 포스팅 활동량 끝 */
css까지 적용해봤습니다.
마지막으로 결과를 확인하겠습니다.
달력은 제 블로그에서 직접 작동하고 있으며 아래 링크를 통해 확인가능합니다.
달력에 값은 1로 통일되어있지만 모델값을 설정하면 원하는 데이터를 가져올 수 있습니다.
주소 : 장고에서 달력 만들기
달력 결과화면
댓글 (0)
간편 댓글 작성


